Kettleness Tunnel
Kettleness Tunnel
![The north portal is a modest stone affair with a single triangular wing wall extending outwards from the west side.](http://www.forgottenrelics.org/wp-content/uploads/2023/03/image1-151.jpg)
![Inside, the courses of substantial masonry blocks forming the sidewalls give way to a brick arch.](http://www.forgottenrelics.org/wp-content/uploads/2023/03/image2-151.jpg)
![Clearly discernible is the rising gradient to the north of 1:62.](http://www.forgottenrelics.org/wp-content/uploads/2023/03/image3-151.jpg)
![Light paints the brickwork as the bore curves gently to the east.](http://www.forgottenrelics.org/wp-content/uploads/2023/03/image4-150.jpg)
![Close to the midpoint is an arch that forms the entrance to an adit, used to remove spoil from the workings during the excavation.](http://www.forgottenrelics.org/wp-content/uploads/2023/03/image5-150.jpg)
![The adit is substantially blocked with fallen material.](http://www.forgottenrelics.org/wp-content/uploads/2023/03/image6-146.jpg)
![The southern half of the tunnel has a masonry arch, the junction being located adjacent to the adit.](http://www.forgottenrelics.org/wp-content/uploads/2023/03/image7-139.jpg)
![Stone-backed refuges offer sanctuary in both sidewalls.](http://www.forgottenrelics.org/wp-content/uploads/2023/03/image8-124.jpg)
![The tunnel is relatively clutter-free whilst its arch surprisingly lacks the extensive soot deposits seen in many other bores.](http://www.forgottenrelics.org/wp-content/uploads/2023/03/image9-107.jpg)
![The south portal features a triangular wing wall on its seaward side and another acting as a retaining wall, parallel with the trackbed.](http://www.forgottenrelics.org/wp-content/uploads/2023/03/image10-86.jpg)
![An outstanding historical photograph capturing the industry at the south portal during construction.](http://www.forgottenrelics.org/wp-content/uploads/2023/03/image11-68.jpg)
![Well fettled track snakes towards the northern portal.](http://www.forgottenrelics.org/wp-content/uploads/2023/03/image12-48.jpg)
![A northbound service on the shelf which linked two tunnels - Kettleness (bottom right) and Sandsend.](http://www.forgottenrelics.org/wp-content/uploads/2023/03/image13-35.jpg)
![On Kettleness' southern approach, a check rail kept locomotives on the straight and narrow.](http://www.forgottenrelics.org/wp-content/uploads/2023/03/image14-27.jpg)
![](http://www.forgottenrelics.org/wp-content/uploads/2023/03/image1-151.jpg)
![](http://www.forgottenrelics.org/wp-content/uploads/2023/03/image2-151.jpg)
![](http://www.forgottenrelics.org/wp-content/uploads/2023/03/image3-151.jpg)
![](http://www.forgottenrelics.org/wp-content/uploads/2023/03/image4-150.jpg)
![](http://www.forgottenrelics.org/wp-content/uploads/2023/03/image5-150.jpg)
![](http://www.forgottenrelics.org/wp-content/uploads/2023/03/image6-146.jpg)
![](http://www.forgottenrelics.org/wp-content/uploads/2023/03/image7-139.jpg)
![](http://www.forgottenrelics.org/wp-content/uploads/2023/03/image8-124.jpg)
![](http://www.forgottenrelics.org/wp-content/uploads/2023/03/image9-107.jpg)
![](http://www.forgottenrelics.org/wp-content/uploads/2023/03/image10-86.jpg)
![](http://www.forgottenrelics.org/wp-content/uploads/2023/03/image11-68.jpg)
![](http://www.forgottenrelics.org/wp-content/uploads/2023/03/image12-48.jpg)
![](http://www.forgottenrelics.org/wp-content/uploads/2023/03/image13-35.jpg)
![](http://www.forgottenrelics.org/wp-content/uploads/2023/03/image14-27.jpg)
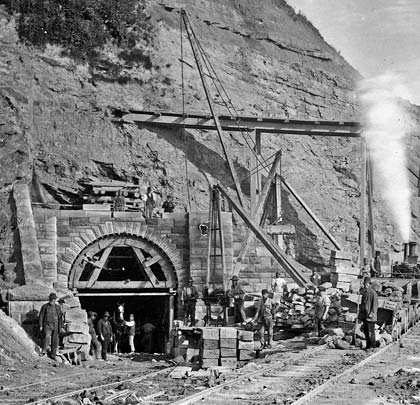
Like its sibling neighbour Sandsend, Kettleness is a tunnel which never should have been. When the Whitby, Redcar & Middlesbrough Union Railway began work on its Loftus-Whitby route in 1871 – five years after obtaining its enabling Act – the plan was to build the line along the edge of the cliffs. Work ground to a halt in 1874 when the contractor went into liquidation; when it resumed under the auspices of the North Eastern Railway, the original formation was deemed too dangerous – some of it having collapsed into the sea – and the track was re-routed via two tunnels further inland. The line opened with little ceremony on 3rd December 1883.
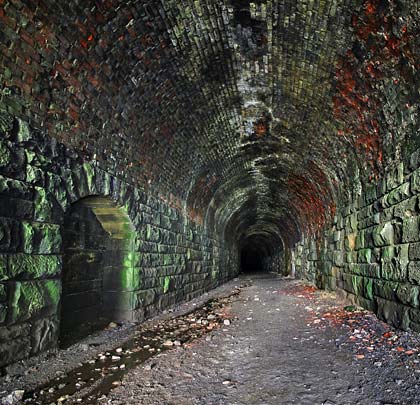
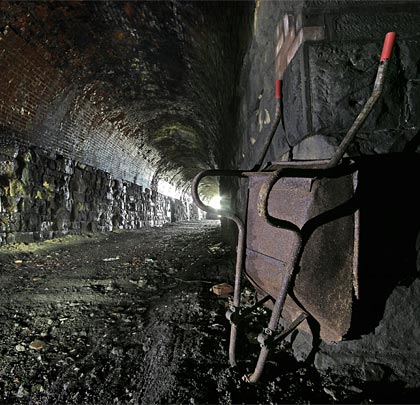
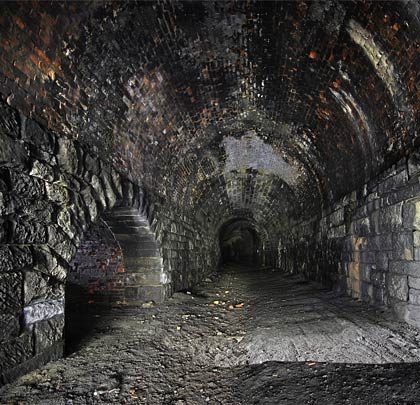
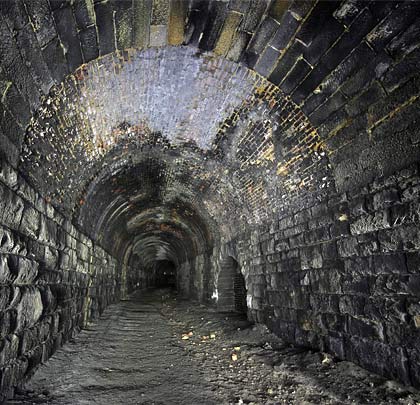
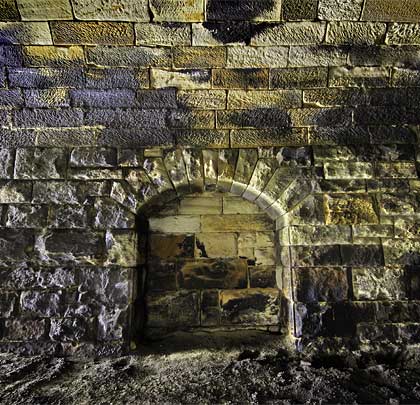
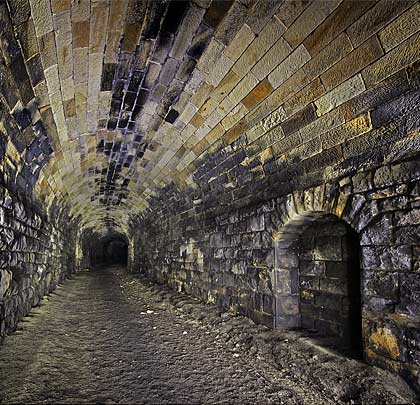
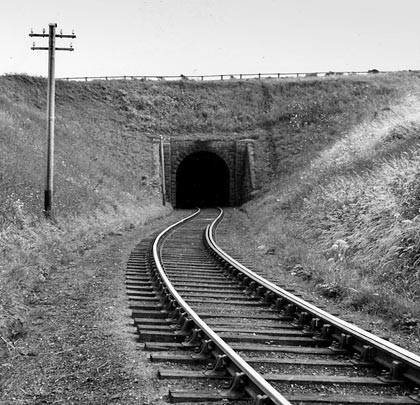
Kettleness, by far the shorter of these tunnels, is 308 yards in length and was built to accommodate a single line. Throughout it incorporates a tight curve of around 14 chains radius and a falling gradient to the south of 1:62. There are no ventilation shafts but close to the midpoint is an adit which was driven out to the cliff-face, allowing spoil from the workings to be tipped onto the shore. This has either been part-backfilled or suffered a substantial collapse.
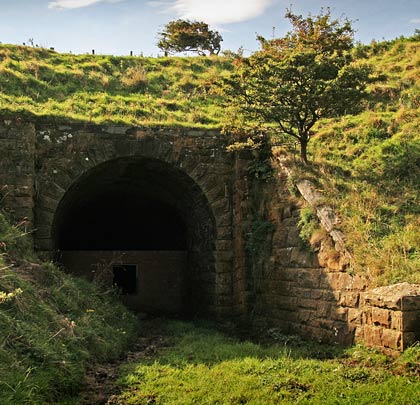
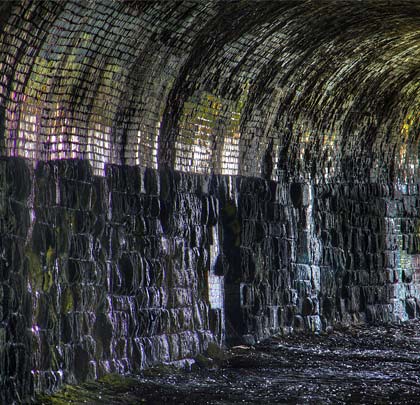
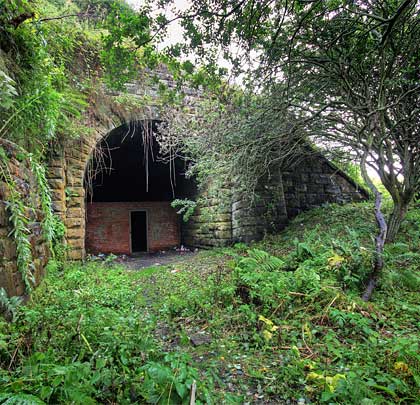
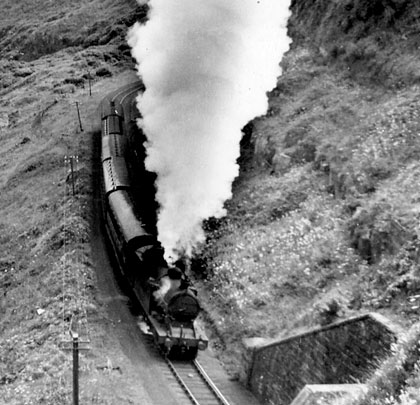
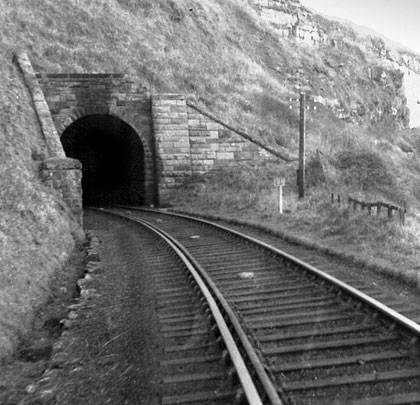
The last train passed through the tunnel in May 1958. Approached through a shallow cutting, its north portal is very modest, built in stone and incorporating a short triangular wing wall on its west side only. Inside the tunnel is generally dry and benign. The masonry sidewalls, incorporating refuges on both sides, support a brick arch until a point just to the south of the adit; thereafter the arch is stone. At the south end, the portal is rather larger, with the east-side wing wall extending towards the cliff edge whilst the other runs parallel to the trackbed, acting as a retaining wall for the steep cutting side.
For the tunnel’s full story, click here.