


Morlais Tunnel
Morlais Tunnel


On 1st January 1873, Dowlais became the western terminus of the London & North Western Railway’s branch from Abergavenny, the route having being extended piecemeal since the first section opened to Brynmawr in 1862. The company’s next objective was to secure a route into nearby Merthyr Tydfil. Faced with the threat of unwelcome competition from a railway giant, the Brecon & Merthyr Railway accepted the L&NWR’s offer of half the original construction costs for a joint stake in its line running around the west side of the town to enter from the south. To make sense of this arrangement, the L&NWR sought Parliamentary approval for a link between its own line at Penywern Junction and the B&M near Vaynor, authority for which was granted in July 1874.
Although less than one and a quarter miles in length, this connection demanded heavy engineering to penetrate the hill between its two ends. Half of it would pass through the two-track Morlais (or Miler) Tunnel, 1,037 yards long and 80 feet below ground at its deepest point. In charge of this undertaking for the London & North Western was civil engineer John Gardner whilst John Charles Mackay won the contract to build it.
The tunnel had to be driven through limestone and millstone grit, with three shafts sunk to expedite progress. Use of made of dynamite and the Ingersoll drill, a device worked by compressed air and operated under the direction of agent Mr Cross from Cardiff. Trials confirmed that this machine was at least three times more productive than hand drills, boring holes into the rock at a rate of 19½ inches in ten minutes. With the pilot tunnel completed, the full excavation was progressed in lengths of 20, 15 or 12 feet – depending on ground conditions – supervised by foreman miner William Jenkinson.
In December 1876, Rees Jones – one of the sinkers working on the shafts – was found guilty of stealing two waistcoats off the washing line of fellow-navvy Henry Downes and sentenced to 21 days imprisonment with hard labour.
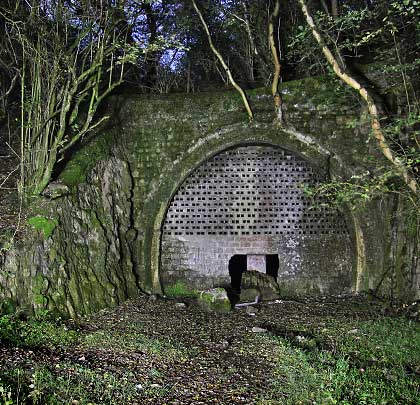
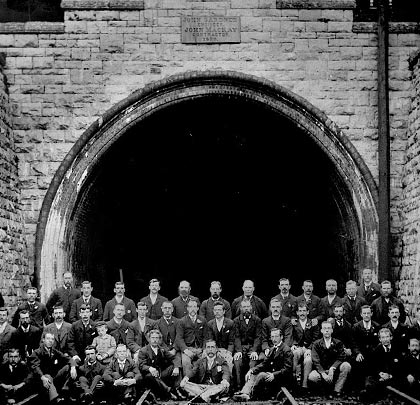
The London & North Western’s passenger trains first entered Merthyr High Street Station on 1st June 1879. To mark the tunnel’s opening, the great and the good gathered at its south portal for a photograph, below a datestone inserted into the headwall.
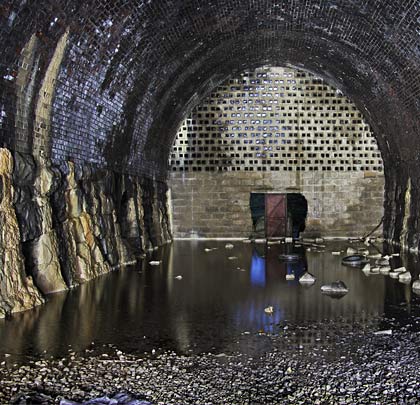
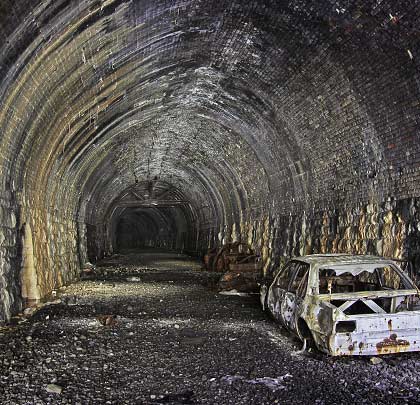
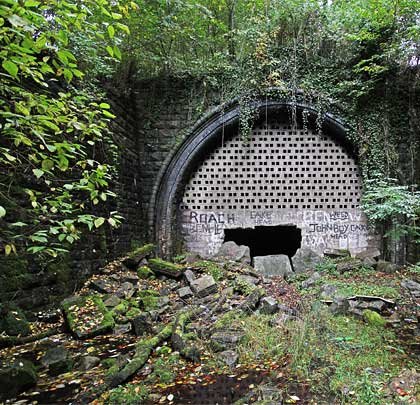
Closure came to Morlais Tunnel on 6th January 1958. Since then, walls have been built across both entrances but with access doors and ventilation holes. Half-a-dozen cars – now burnt out – were driven into the tunnel before it was secured.
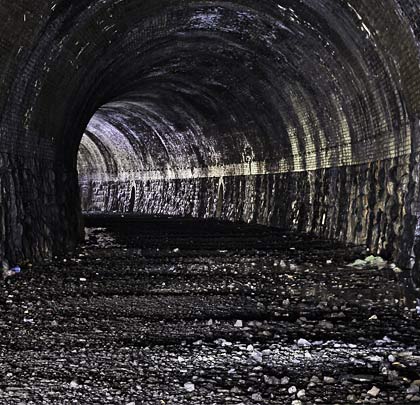
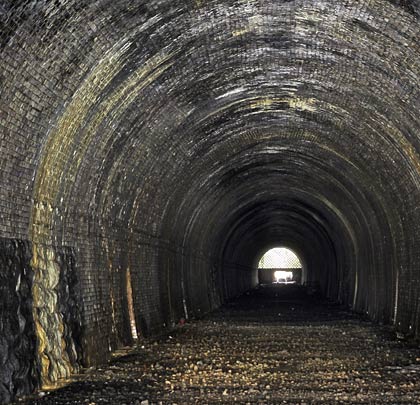
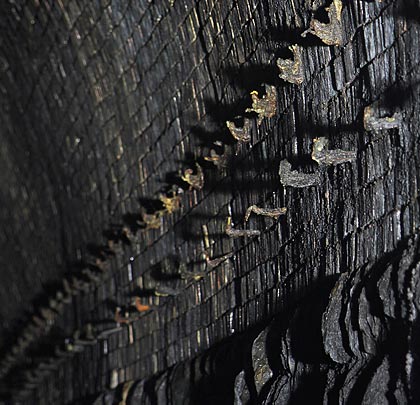
From its northern end, the tunnel curves to the south for 170 yards on a radius of about 14 chains, giving way to a long, straight section. The lining comprises masonry sidewalls – with refuges – and a brick arch. Rows of cable hangers are in situ on the east side, just above springing level.
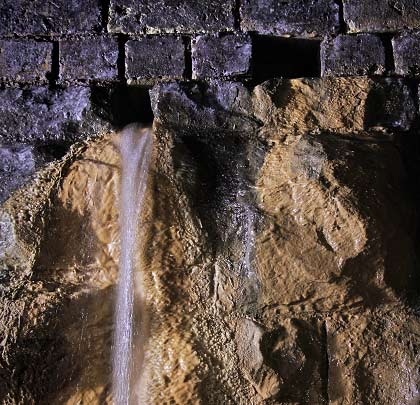
Soon encountered is a series of five braced iron ribs, fashioned from bullhead rail and standing on stout timber baulks. These were installed to provide support to the lining. Close by is a section of arch where the west-side haunch has been significantly flattened due to ground pressure. A considerable amount of water penetrates the brickwork near this point.
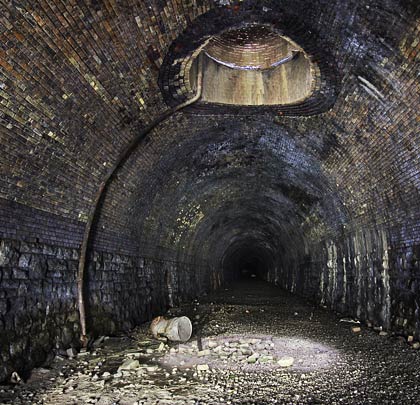
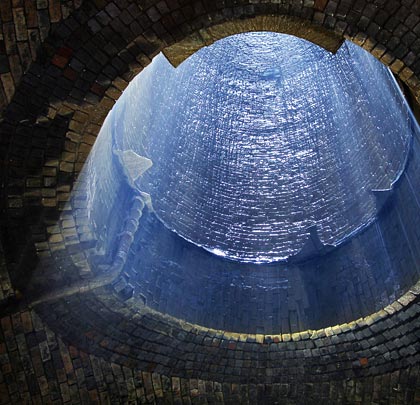
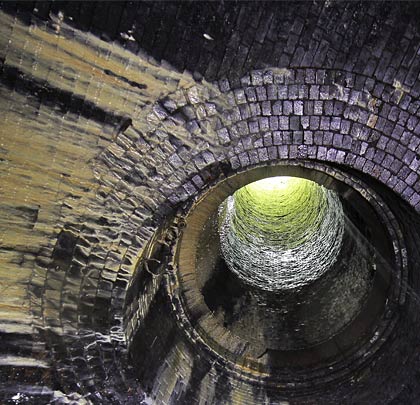
The first of the three ventilation shafts is 373 yards from the north end. A deluge descends it. The others are much drier and located 593 and 790 yards in. The northern half of the tunnel is generally wet, with weep holes inserted at several locations to allow the release of water. This has contributed to the formation of substantial localised calcite deposits. Regular catchpits – no longer covered – are present along the centreline.
The three shafts remain open, the middle one having lost its original pepperpot which now languishes in the tunnel. Above ground, the protection walls have distinctive battered sides with raised square labels under the top band of brickwork. Above this is a sandstone coping carrying the domed iron grilles. The centre and south-east shafts are Grade II listed.
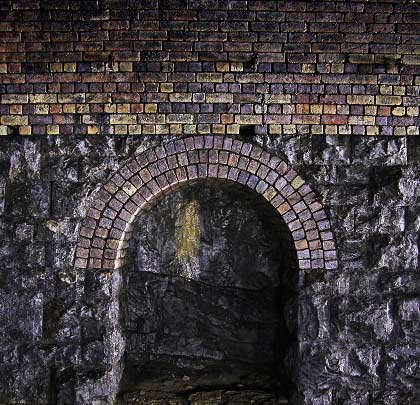
The stone-built north portal – bedecked in moss and saplings – looks out towards Morlais Tunnel Junction. A long retaining wall supports the west side of the approach cutting; the other has just a short triangular wing wall. The south portal is more striking but has suffered due to the effects of time and vandalism. Its headwall is now consumed by ivy but once featured a stepped parapet with dressed copings; the commemorative datestone is/was centred above the crown of the arch. If it’s still there, foliage now obscures it. The face of five brick rings are apparent, with three of these being curved to add attractive architectural detailing. The wing walls step down from the portal before extending some distance into the approach cutting.
Click here for Sparhawk’s pictures of Morlais Tunnel.
Click here for a collection of archive pictures.

 May 2014